#5 HOW TO: Create the best branding for your Ghost.org site to attract more viewers

Disclosure: The links below are affiliate links, meaning, at no additional cost to you, I will earn a commission for purchases made through links in this post. However, please note I only recommend products I have used, and I won’t put anything on this page that I haven’t verified and/or personally used.
This blog post will cover:
- STEP ONE: Accessing the branding section of Ghost.org
- STEP TWO: Changing your accent colour
- STEP THREE: Creating your publication icon and uploading it to Ghost.org
- STEP FOUR: Creating your publication logo and uploading it to Ghost.org
- STEP FIVE: Creating your publication cover and uploading it to Ghost.org
- Links to my other 'how-to' blog posts
If you need help with other aspects of Ghost.org/Google Domains, follow my 'how-to' blog post series linked at the bottom of this blog. A new 'how-to' blog post will be released every Thursday.
I’m sure we’ve all been on a site or two, where the look of it has us asking ourselves if its legit then frantically, googling trust pilot to read the reviews. Well, it’s safe to say, you don’t want the visitors to your site wondering the same thing. There’s no doubt that a professional looking website makes you trust the site more, attracts more visitors and encourages you to spend more time on the site. Think about some of the biggest companies in the world... Google, Apple, Nike, Mcdonalds etc, they all have very distinct well-known branding. I can’t stress enough the importance of good branding. Also, branding is completely unique to you and your niche so get personable with it.
In this blog post, I will only be focusing on customising and branding a Ghost.org site using Canva. This is because I only have experience using Ghost and I cannot recommend Canva enough and I don’t say that lightly. I’m on the Canva pro monthly plan, which costs £10.99 a month. I created my logo and banner for my blog using Canva, but I also use it to create all my Pinterest pins, for my blog posts and to make free printable’s that I give away like my travel planners (linked in this blog post):
 Kirsty
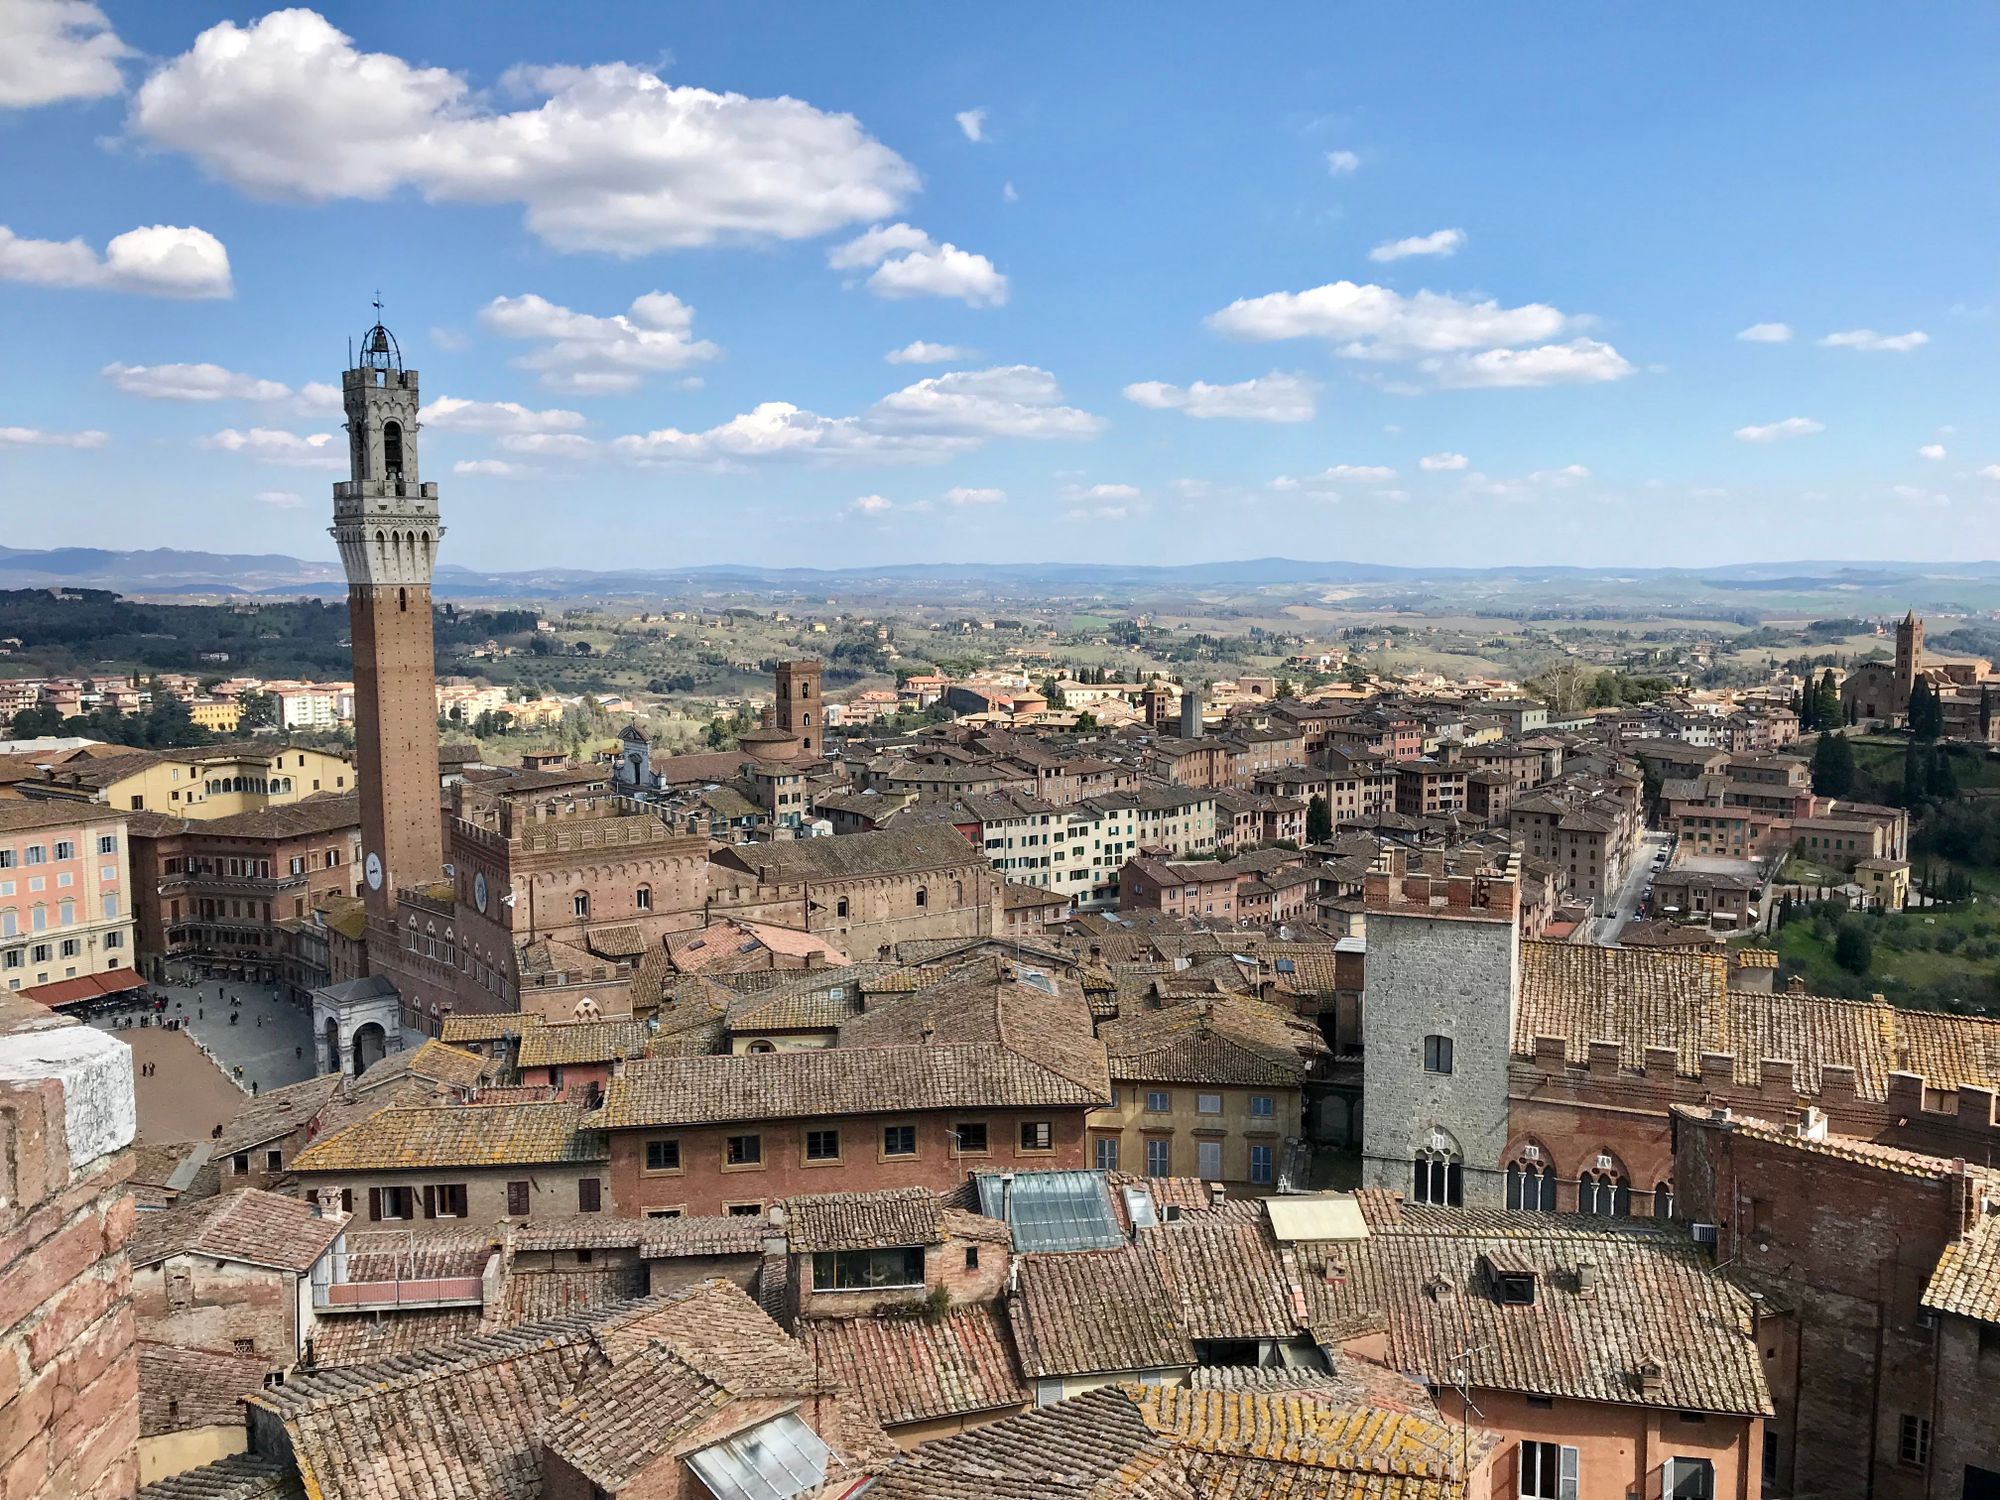
Here's some of the Pinterest pins I've made in Canva:
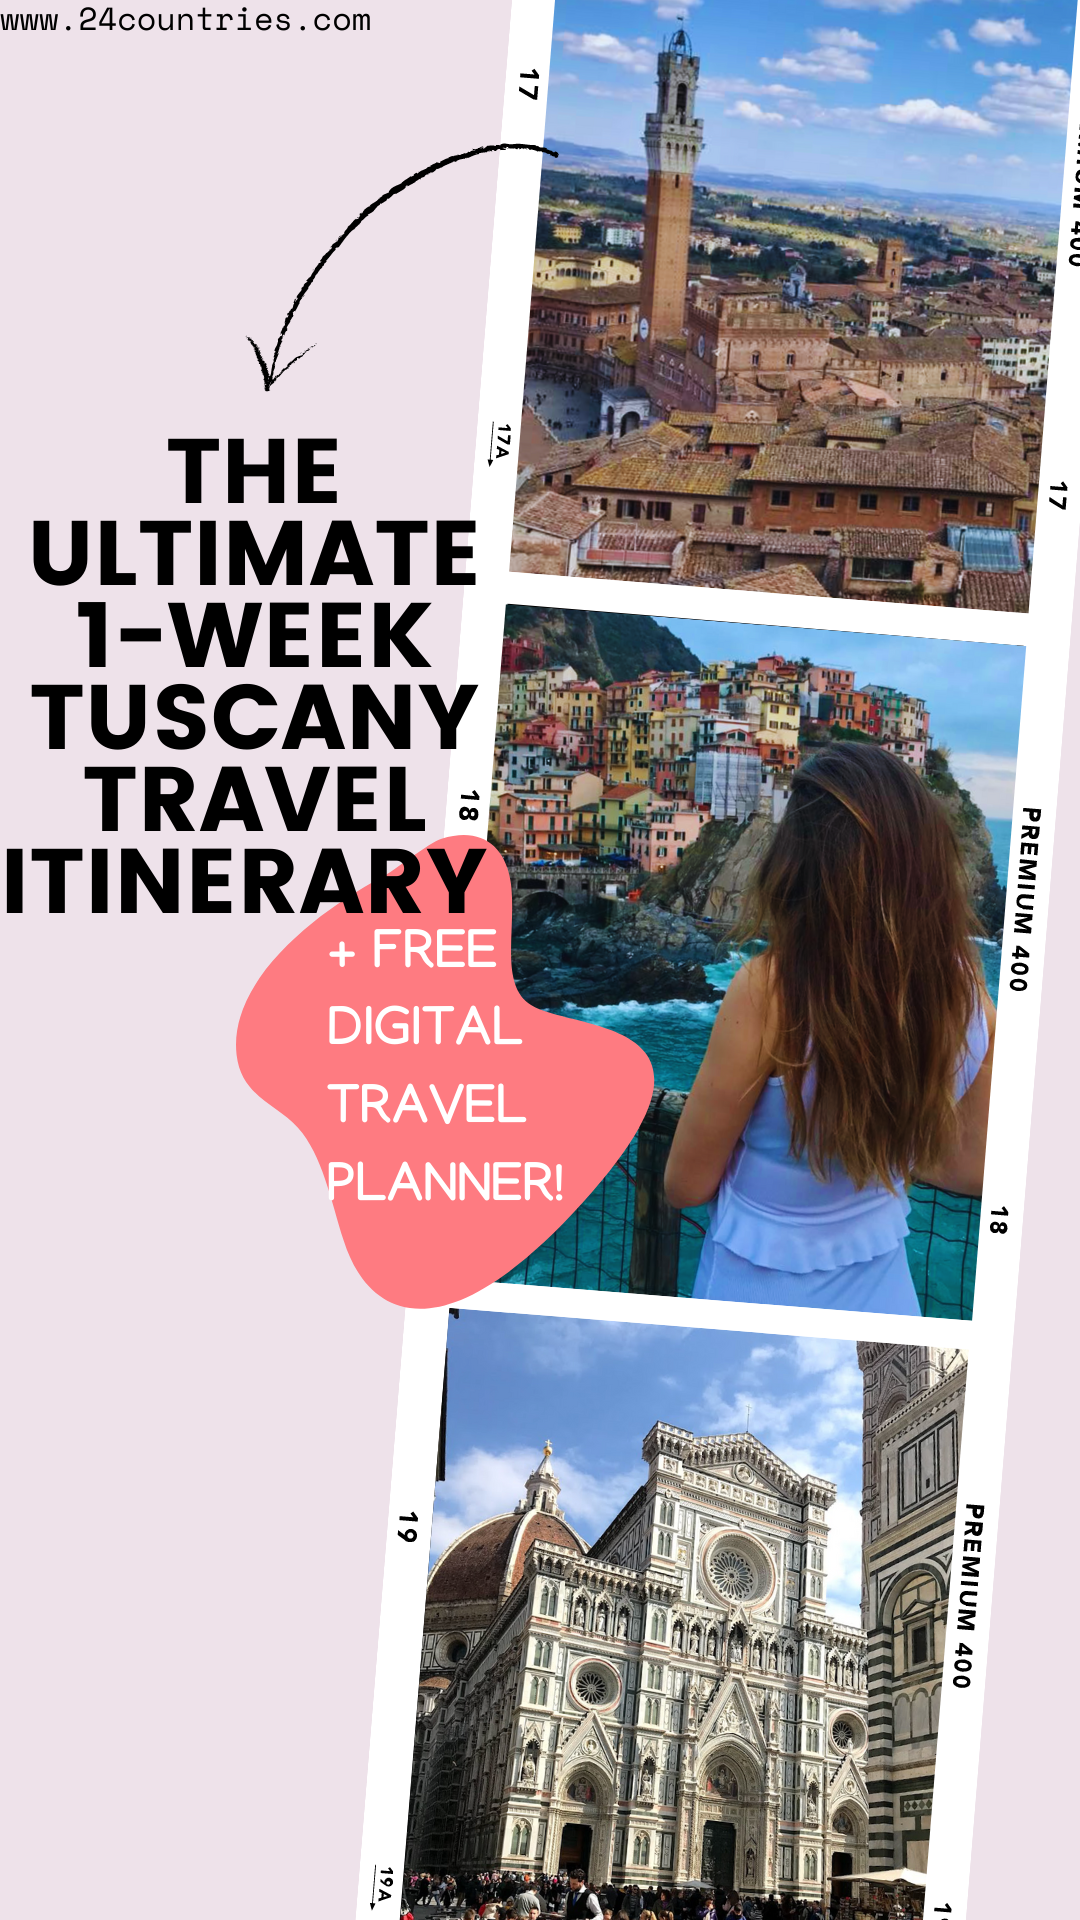
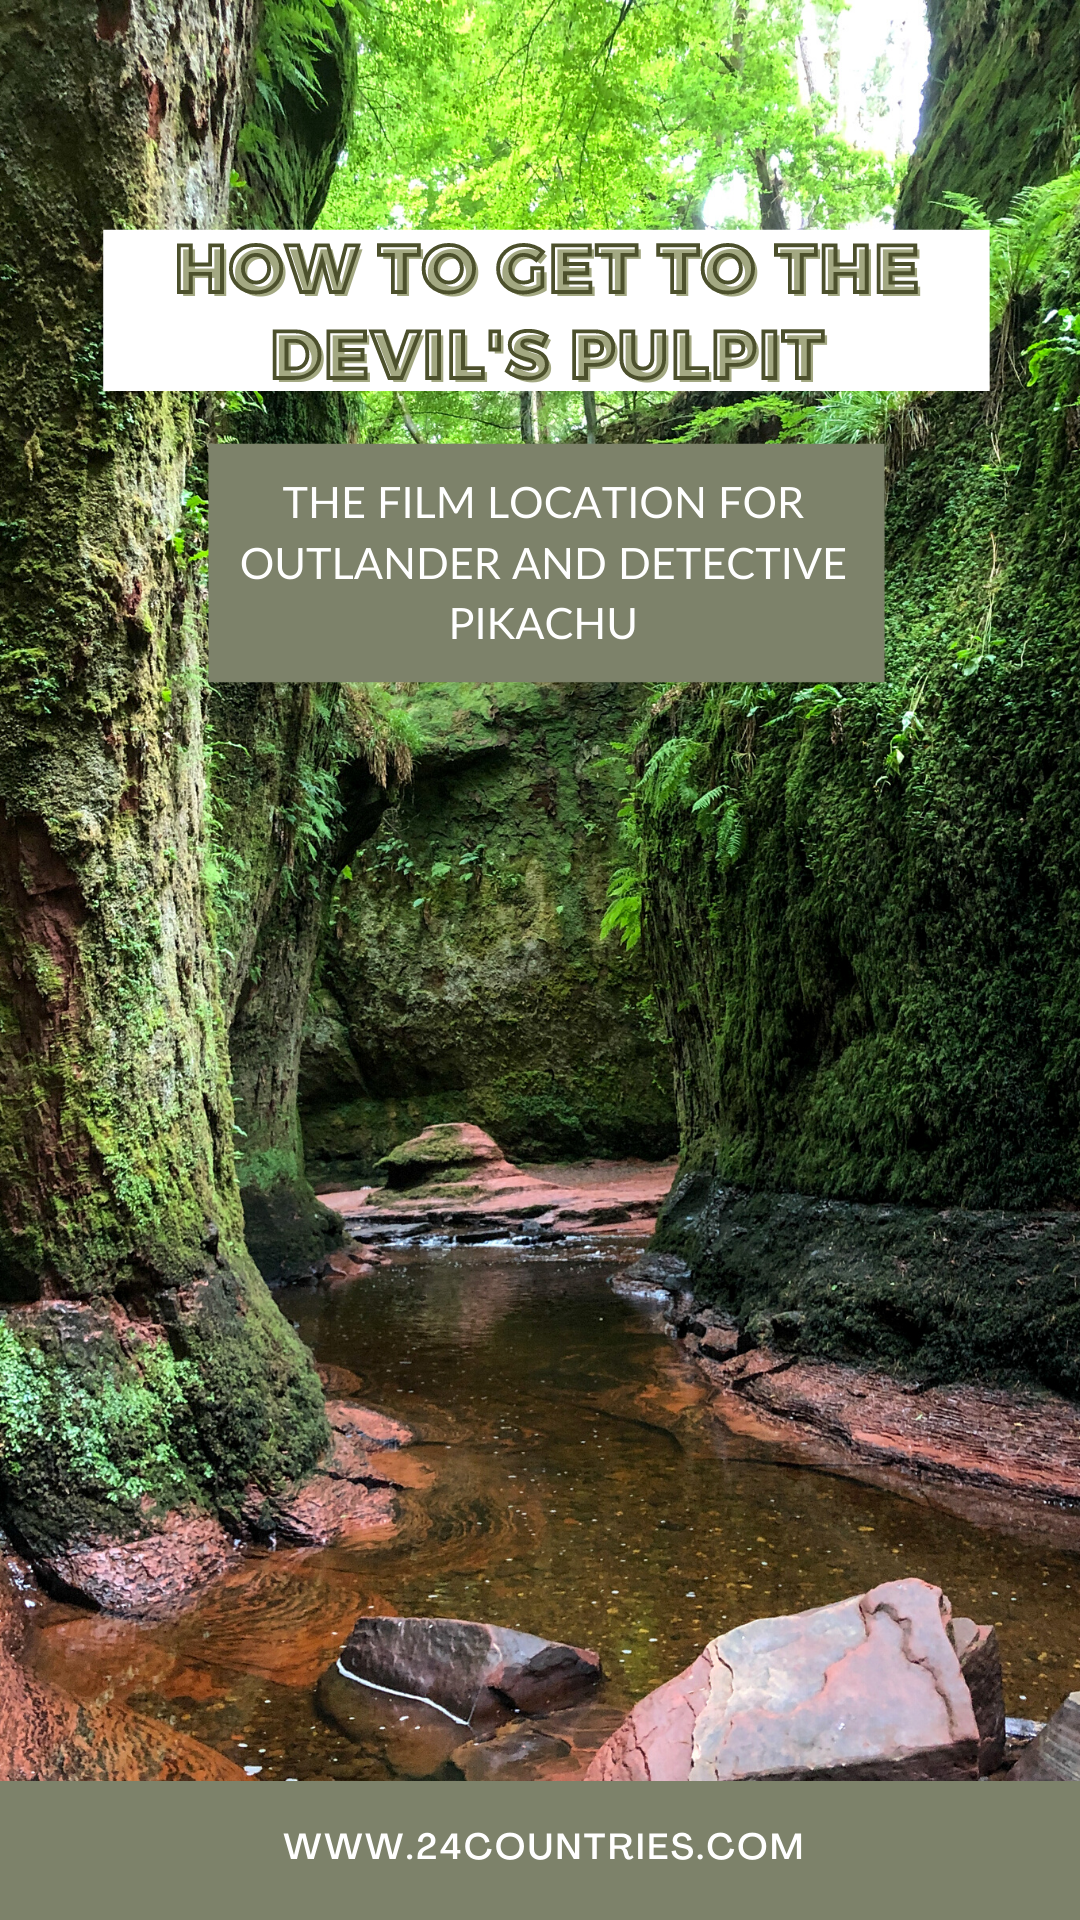
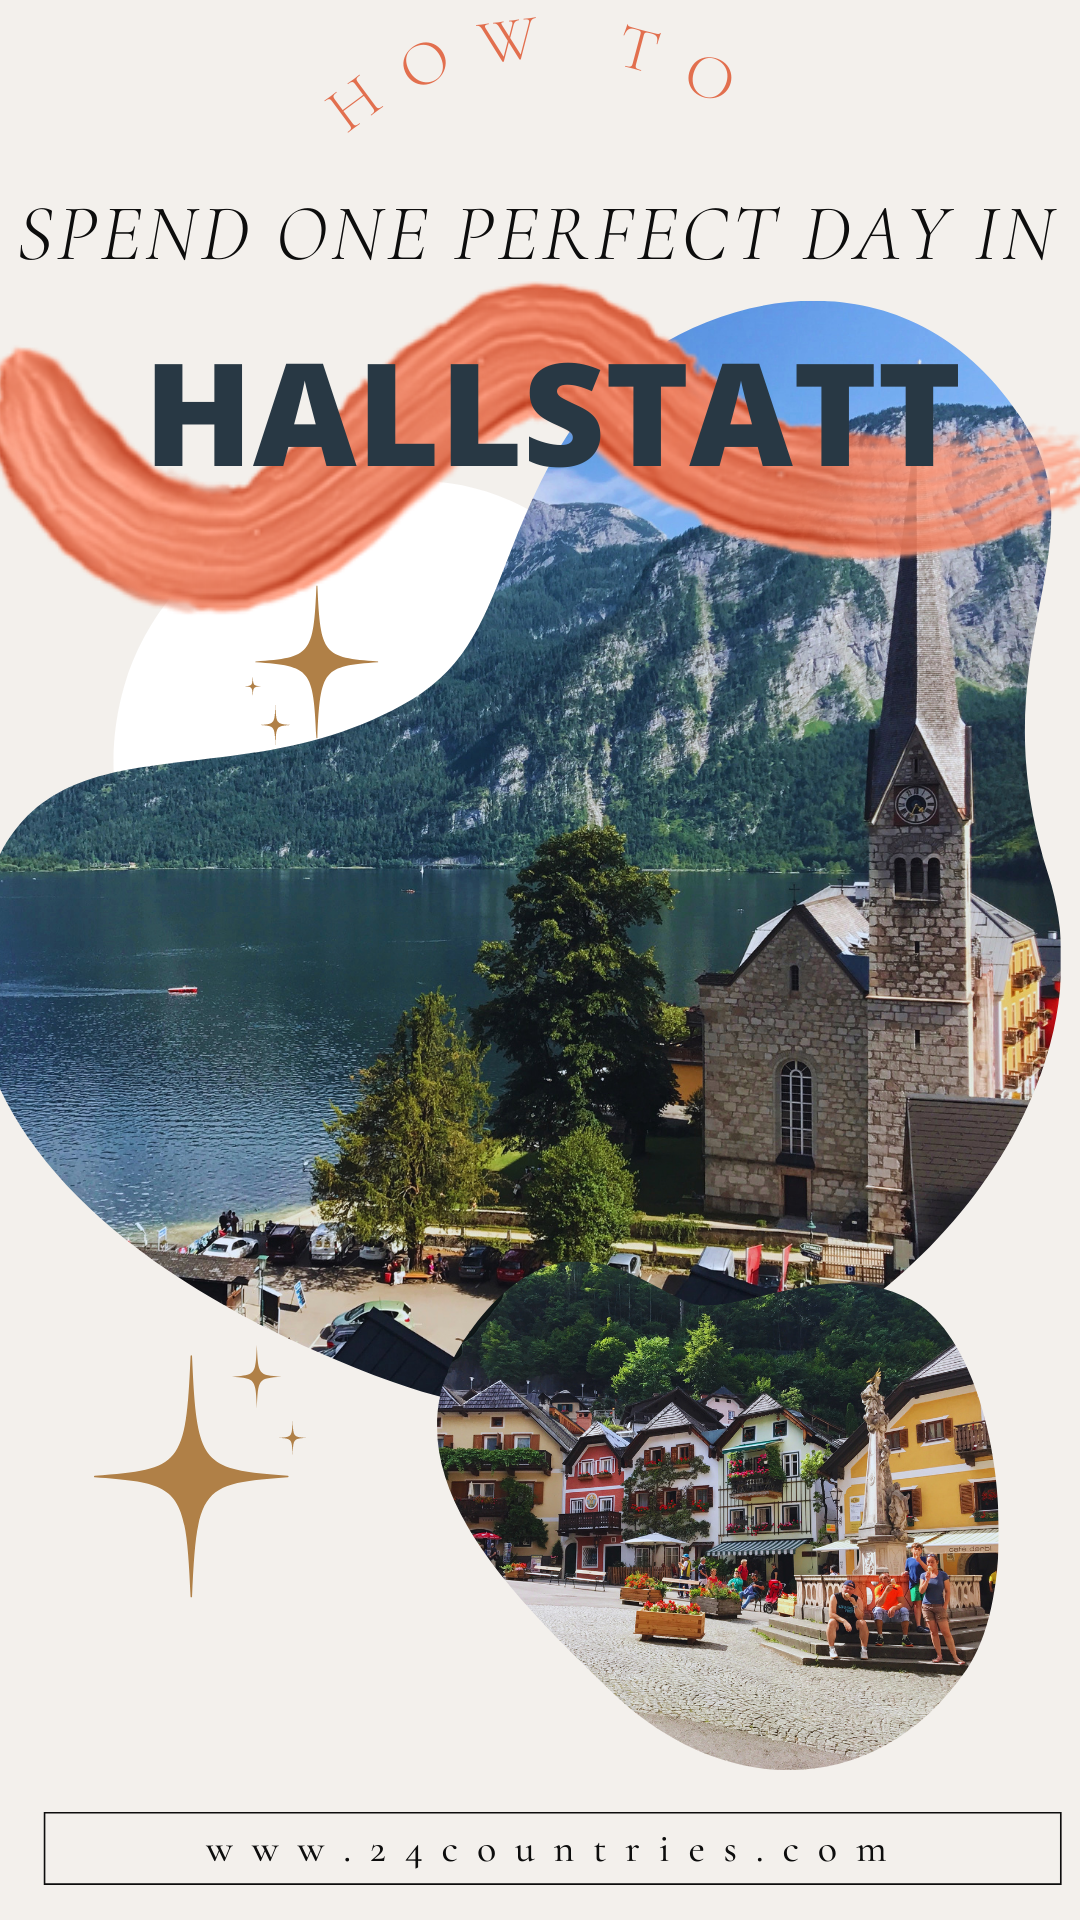
Pinterest pins made in Canva.
Canva makes it super straight-forward to make anything - you can pick from tons of templates, elements (shapes), images (or upload your own), backgrounds and fonts. You can pretty much make anything your heart desires! With Canva, you won’t be locked into a contract and can cancel anytime.
Use this link if you also fancy trying Canva:
https://partner.canva.com/9WMm0Y
STEP ONE: Accessing the branding section of Ghost.org
1. You can find branding under settings in Ghost. To access your Ghost settings, you will need to be logged into your Ghost.org account and then click on this button.

2. Within your Ghost settings and under the 'website' section, click on the 'branding' tab (highlighted in the picture below).
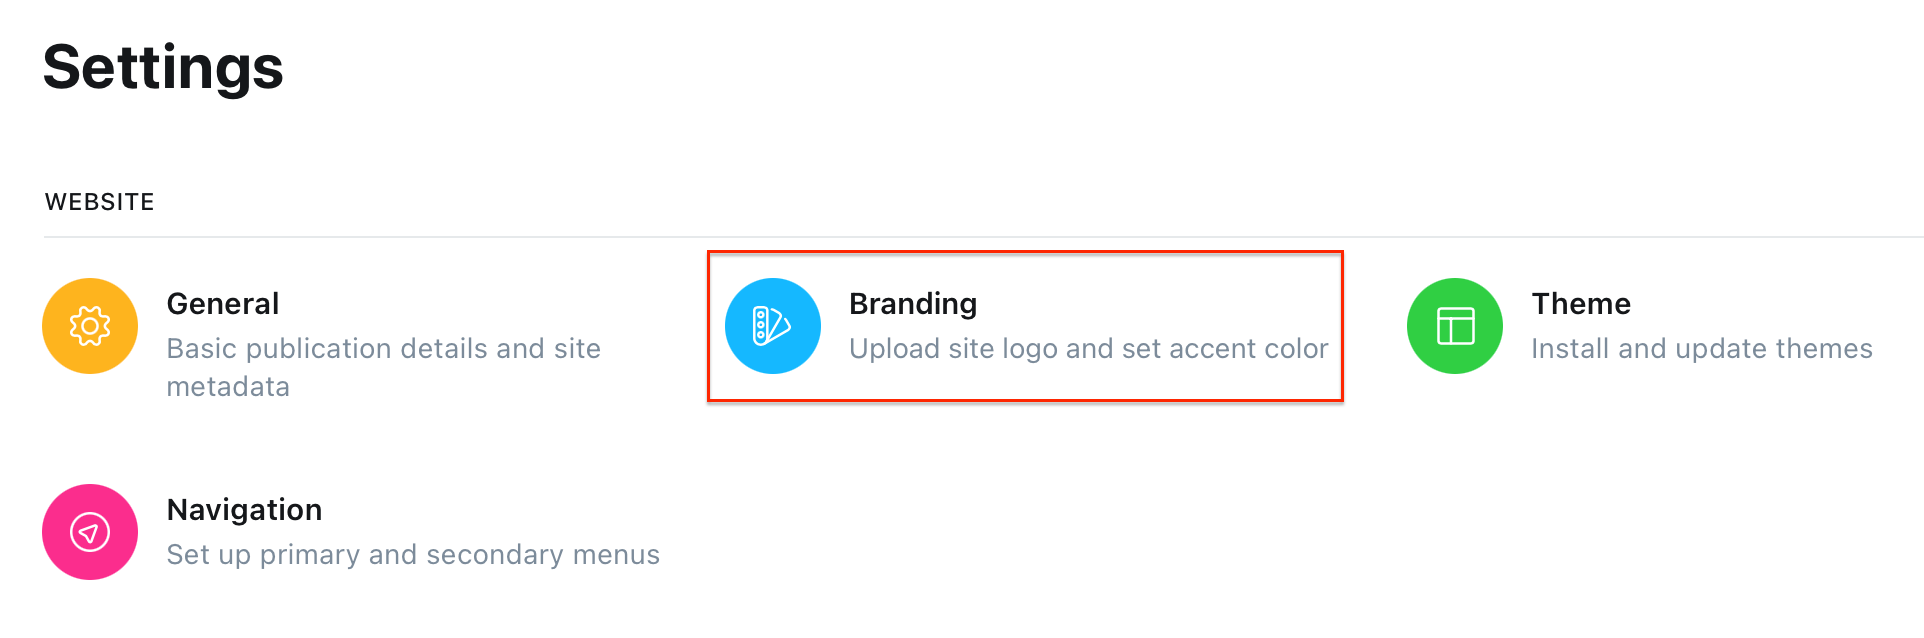
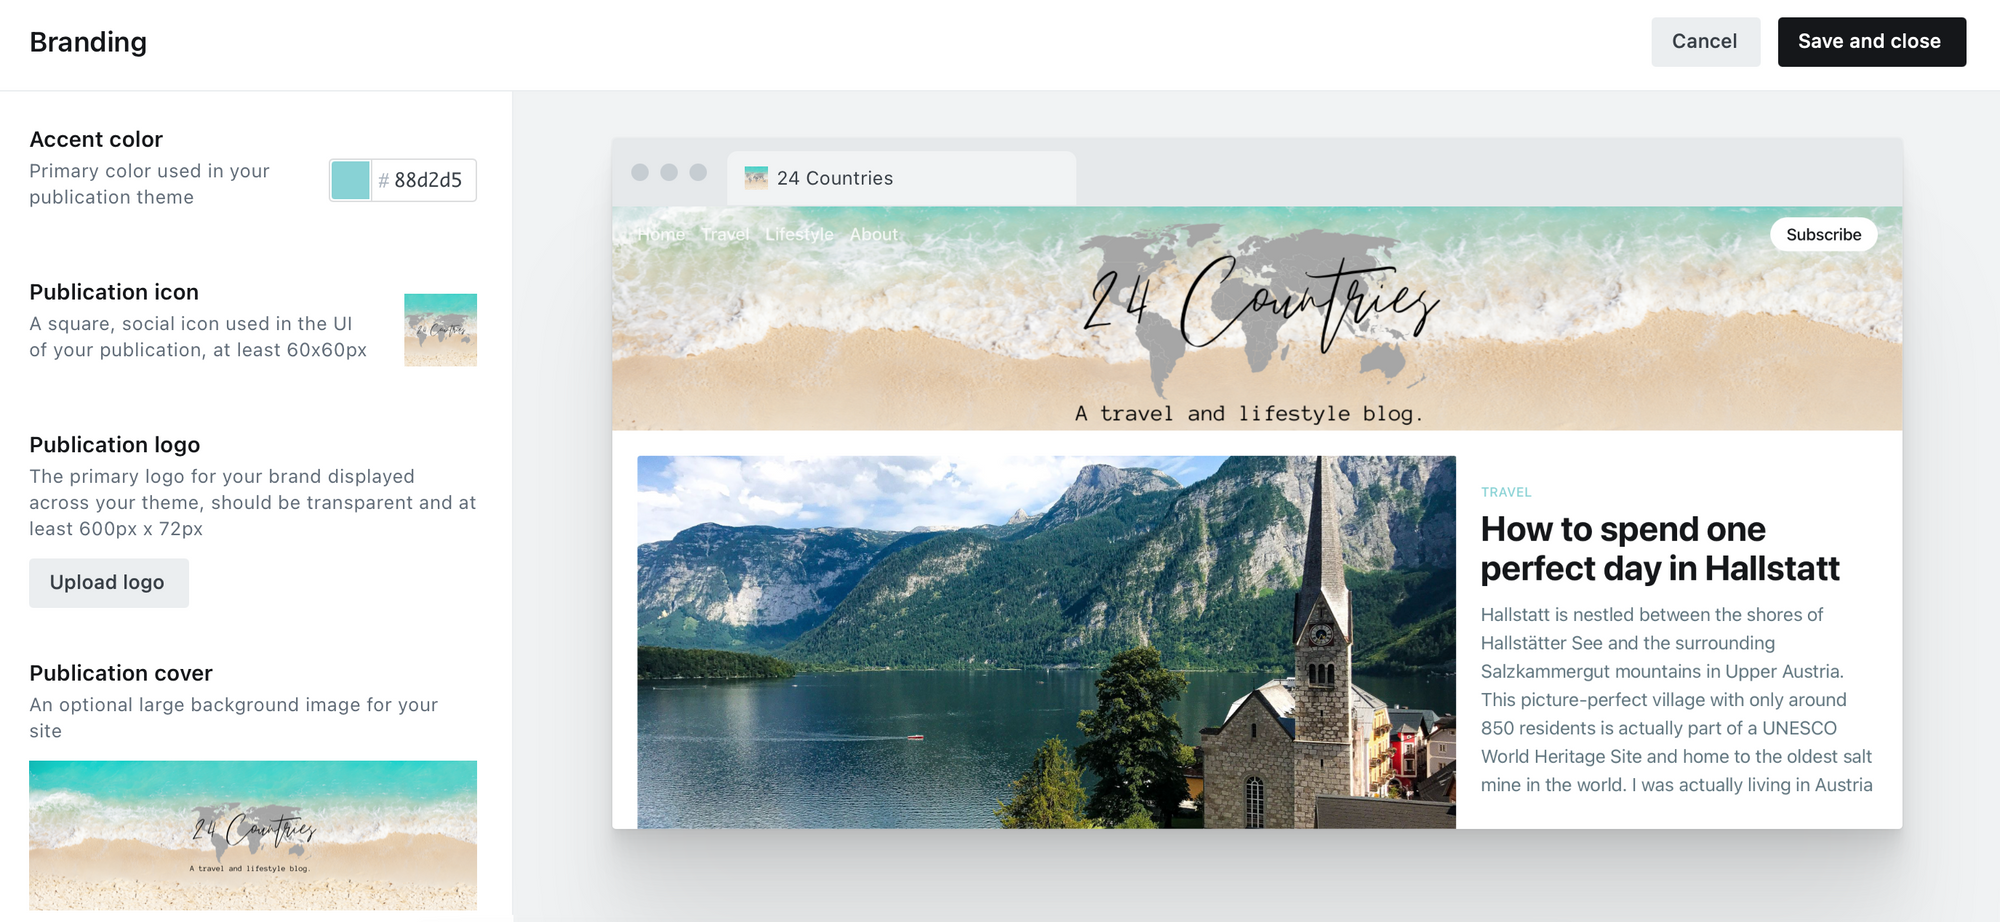
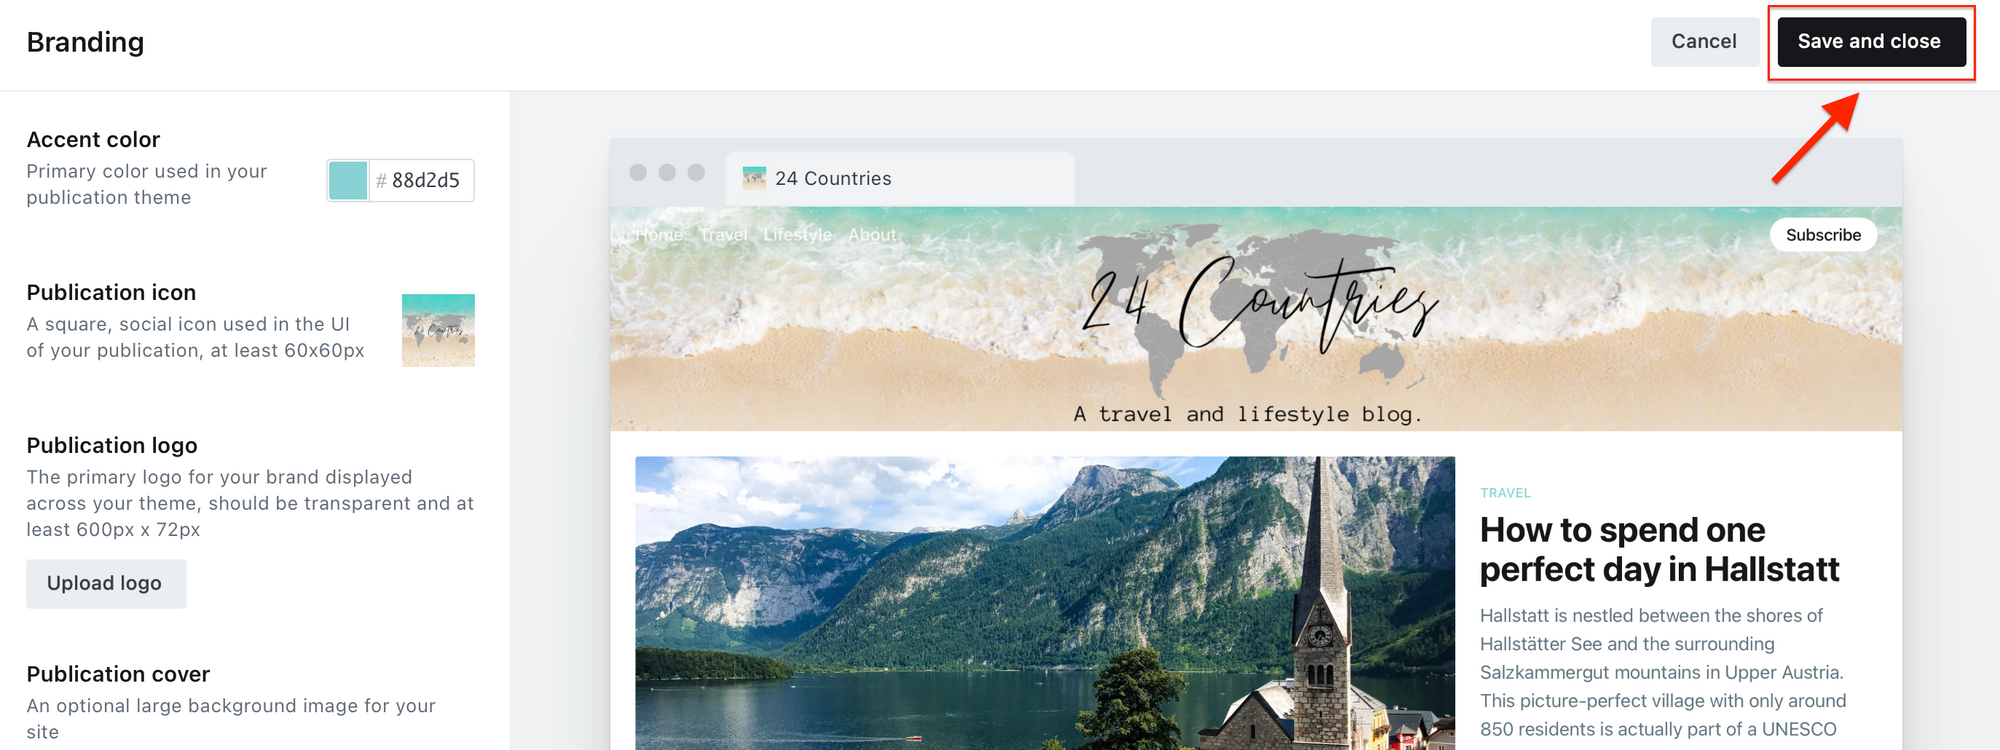
There is four parts to your branding: accent colour, publication icon, publication logo and publication cover. I’ll cover how to change all of them in this blog post.
STEP TWO: Changing your accent colour
Accent colour is the primary colour which will be used in your theme. It will be the colour of buttons, links, text (including tags and the authors names of any stock pictures you use from unsplash) and the colour of the dropdown menu on mobiles.
1. To change your accent colour, simply click this button and select the colour you want.
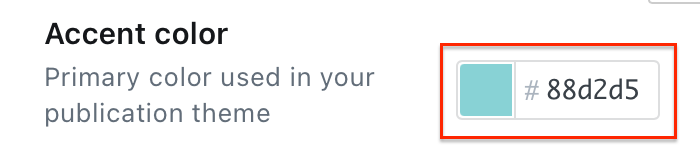
2. Then, click ‘save and close’ up the top right-hand corner.

STEP THREE: Creating your publication icon and uploading it to Ghost.org
A publication icon will be your website icon. When you are logged into Ghost, in the left-hand menu, you’ll see it displayed up the top left-hand corner next to your site name. For visitors to your site, they’ll be able to see your publication icon next to your site name in the tab of their desktop browser.
Publication icons must be square and at least 60px. I’m going to show you how to create your publication icon using Canva. Use this link if you also fancy trying Canva:
https://partner.canva.com/9WMm0Y
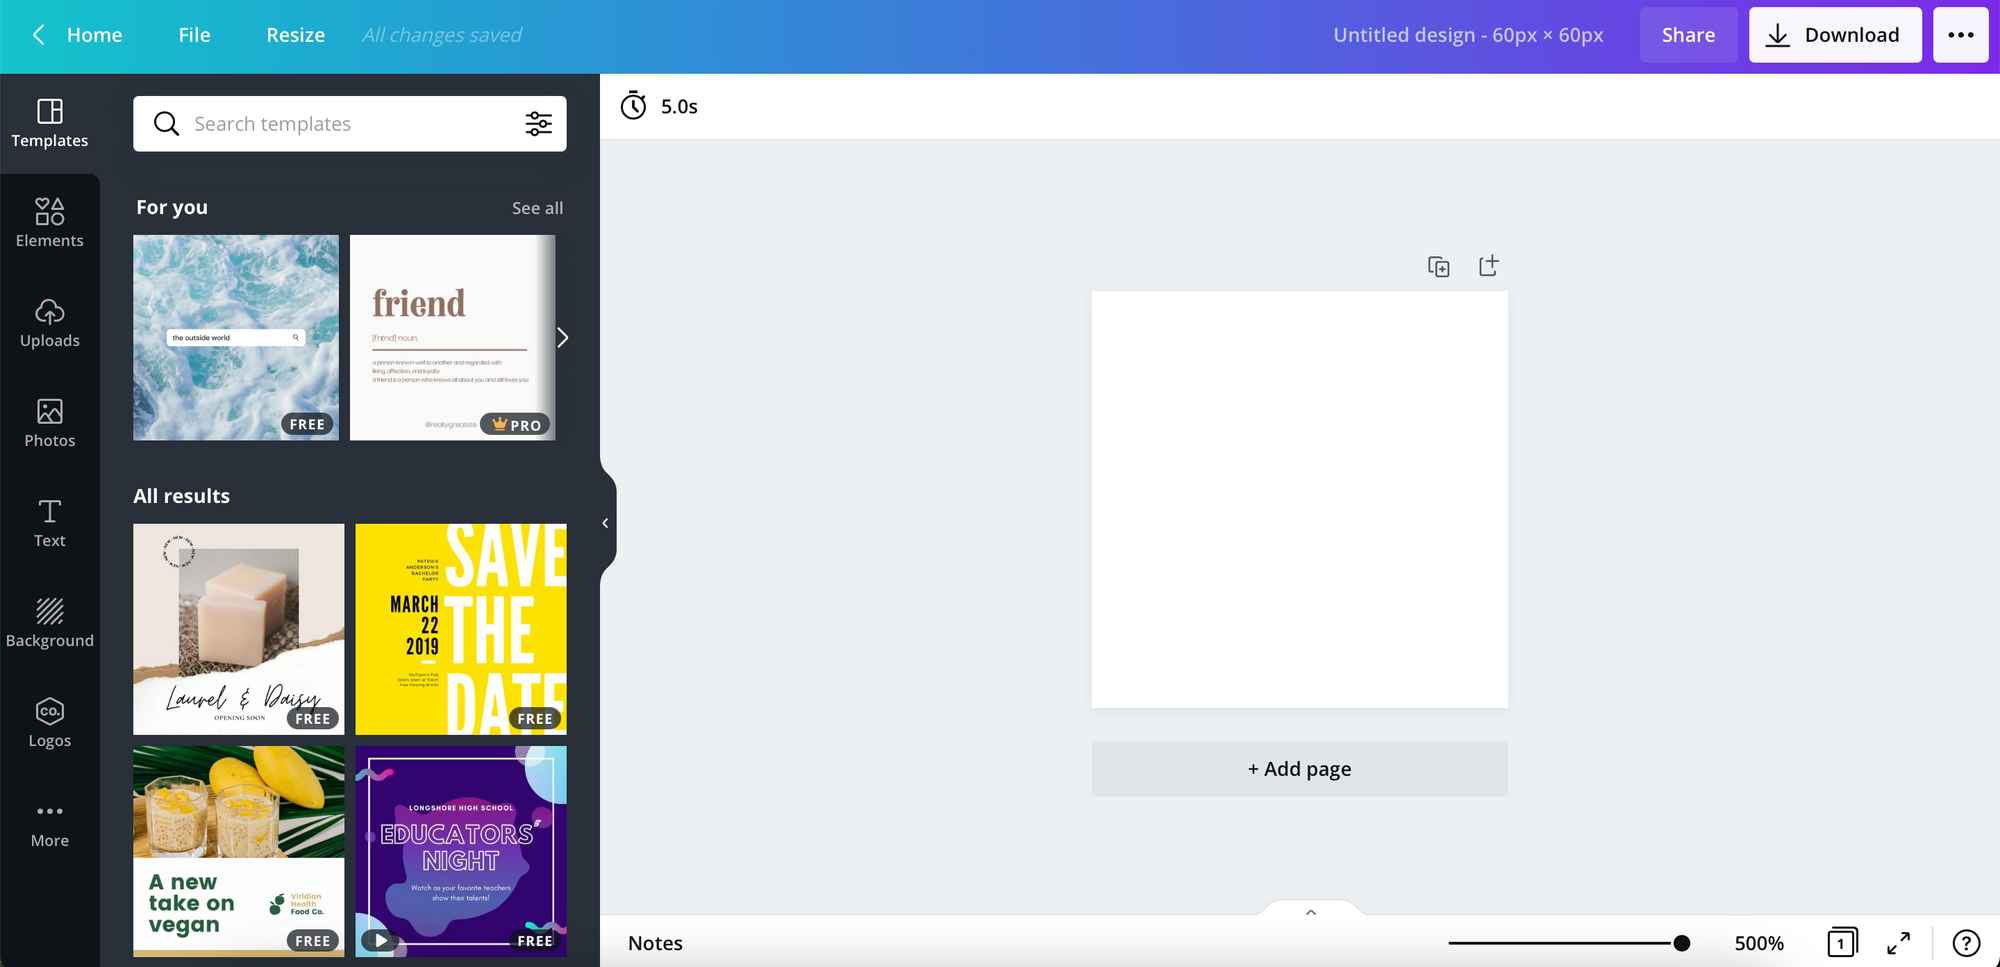
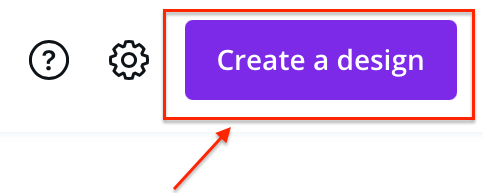
1. Click on ‘create your design’ at the top right-hand corner of Canva.

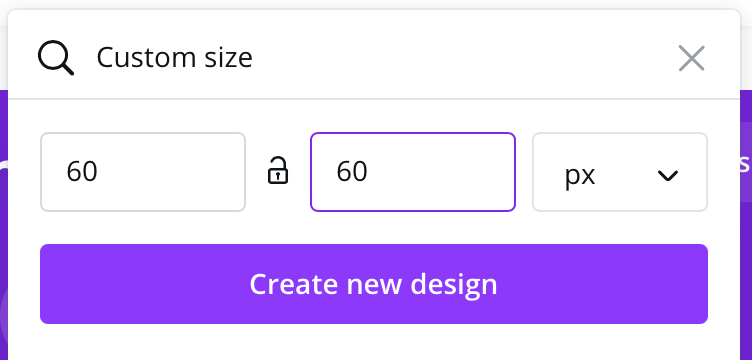
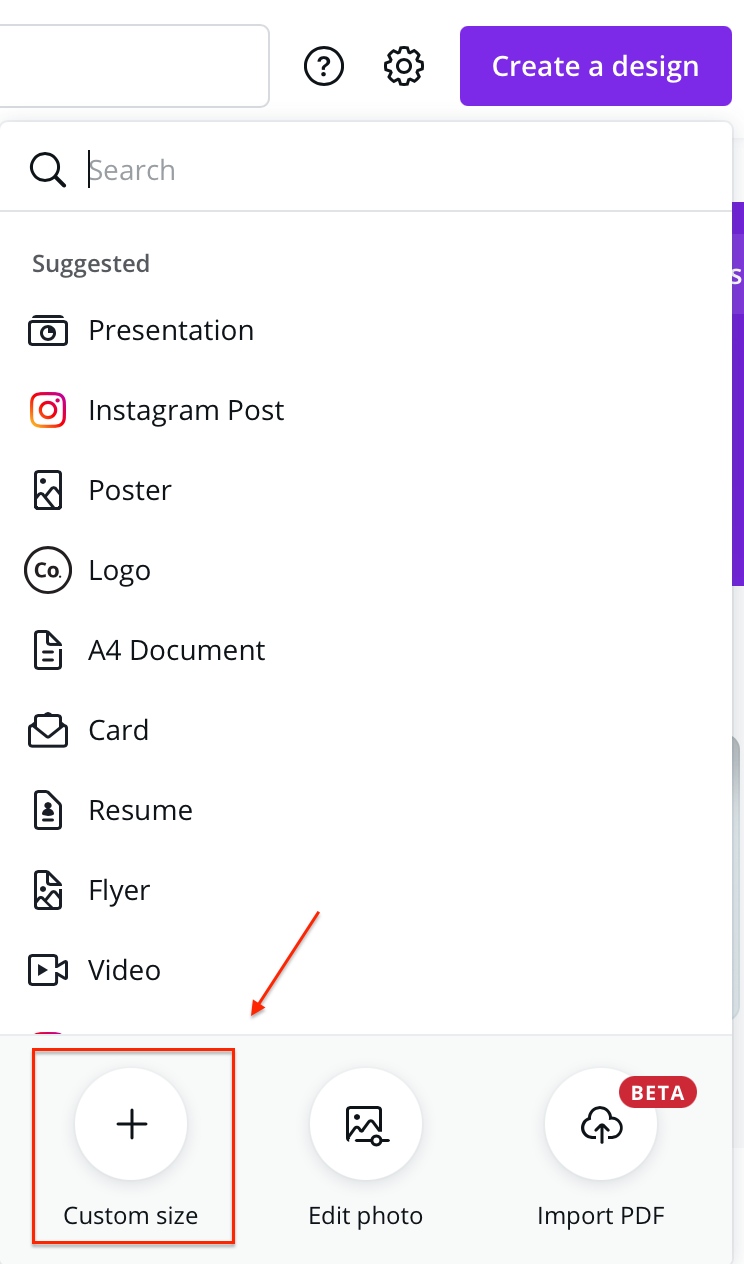
2. Select ‘custom design’ at the bottom of this list.

3. Type in the dimensions on the publication icon, which is a minimum 60 x 60 and just make sure the units are ‘px’.
4. Get creative with it! You’ve got a ton of templates, elements, images, backgrounds, and fonts to choose from. If you intend to use the Canva templates for commercial purposes, you must edit it as they can’t be used as a direct copy.
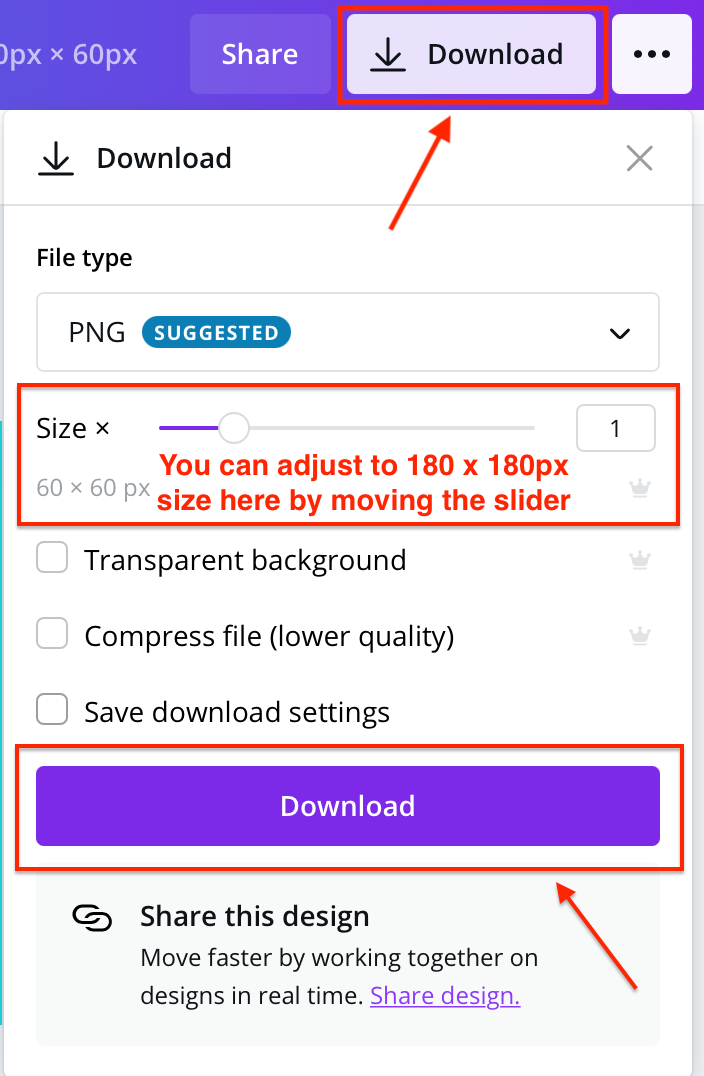
5. Once you’ve finished your design, simply click the ‘download’ button up the top right-hand corner. Make sure the file type is ‘png’, you can adjust from 60 x 60px size to 180 x 180px at this stage or at the very beginning when entering the dimensions. I personally went for 180 x 180px as I thought it looked a bit clearer. and then, download.
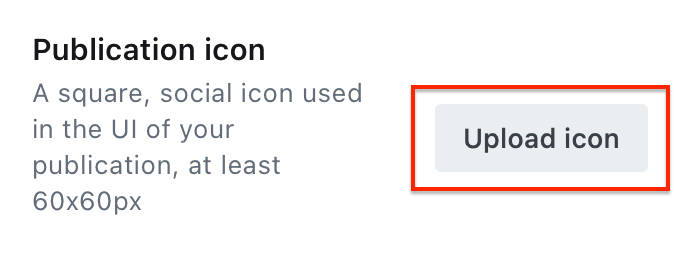
6. Go back to your Ghost branding section, under ‘publication icon’, click ‘upload icon’ and upload the icon you just created and downloaded from Canva. Click ‘save and close’ up the top right-hand corner.
7. Click ‘save and close’ up the top right-hand corner.
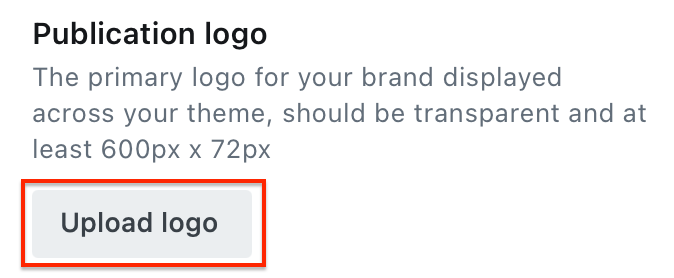
STEP FOUR: Creating your publication logo and uploading it to Ghost.org
A publication logo is the logo for your site and brand. It will be displayed in your theme. Just a heads up, I don’t have a publication logo set for my site. Reasons being… the ghost Casper theme, which I use, shrinks the publication logo and I’d have to download the Ghost Casper theme and change the code if I wanted to make it bigger, which at this stage is much more than what I’m capable of. Secondly, I actually just ended up building my logo into my publication cover and I was really happy with it. So, just used it instead.
I’m going to let you know how to create your publication logo using Canva. Use this link if you also fancy trying Canva:
https://partner.canva.com/9WMm0Y
1. Click on ‘create your design’ at the top right-hand corner of Canva.

2. Select ‘custom design’ at the bottom of this list.

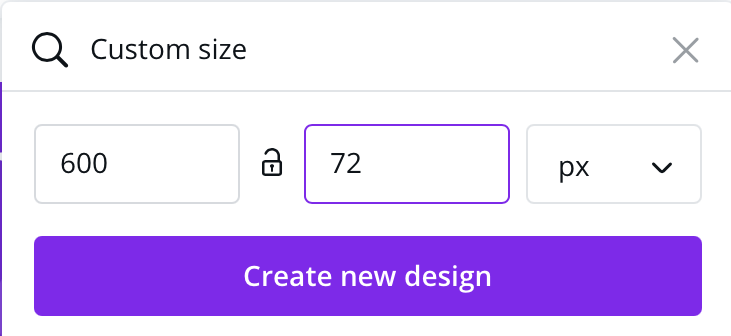
3. Type in the dimensions on the publication logo, which is a minimum 600 x 72 and just make sure the units are ‘px’.
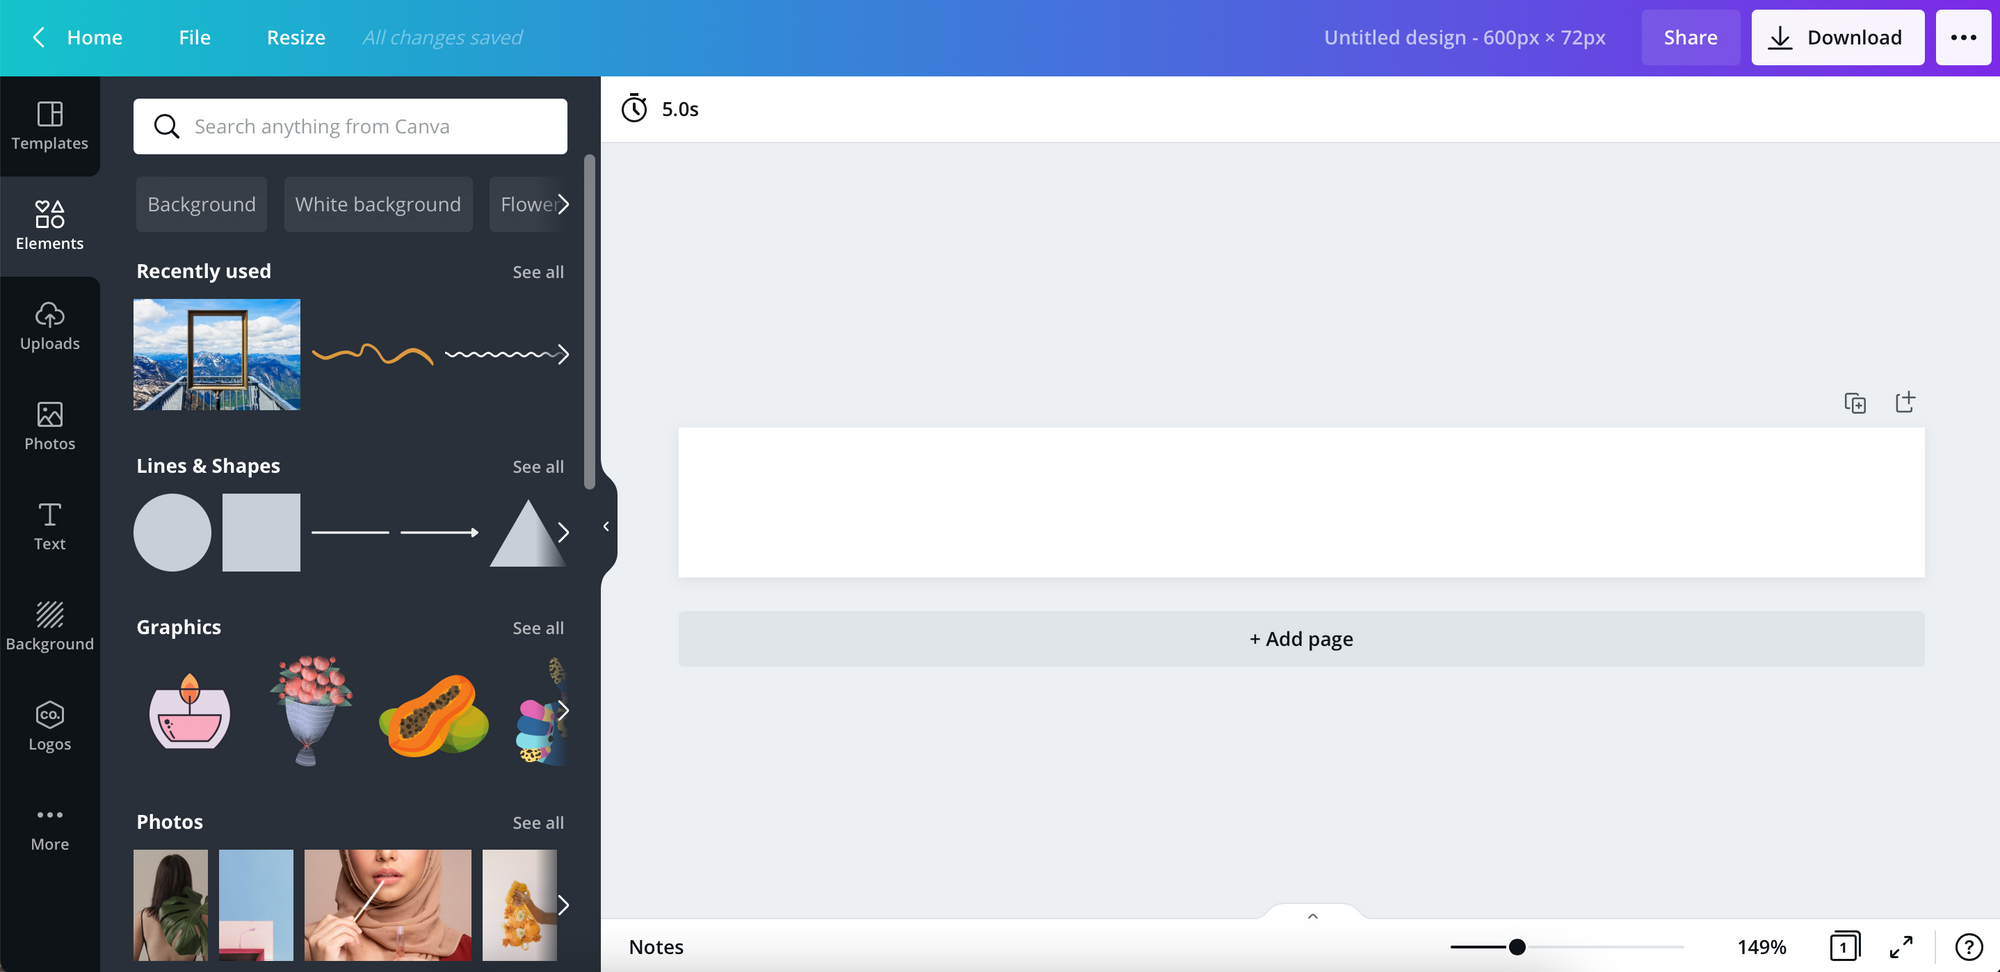
4. Get creative with it! You’ve got a ton of templates, elements, images, backgrounds, and fonts to choose from. If you intend to use the Canva templates for commercial purposes, you must edit it as they can’t be used as a direct copy.
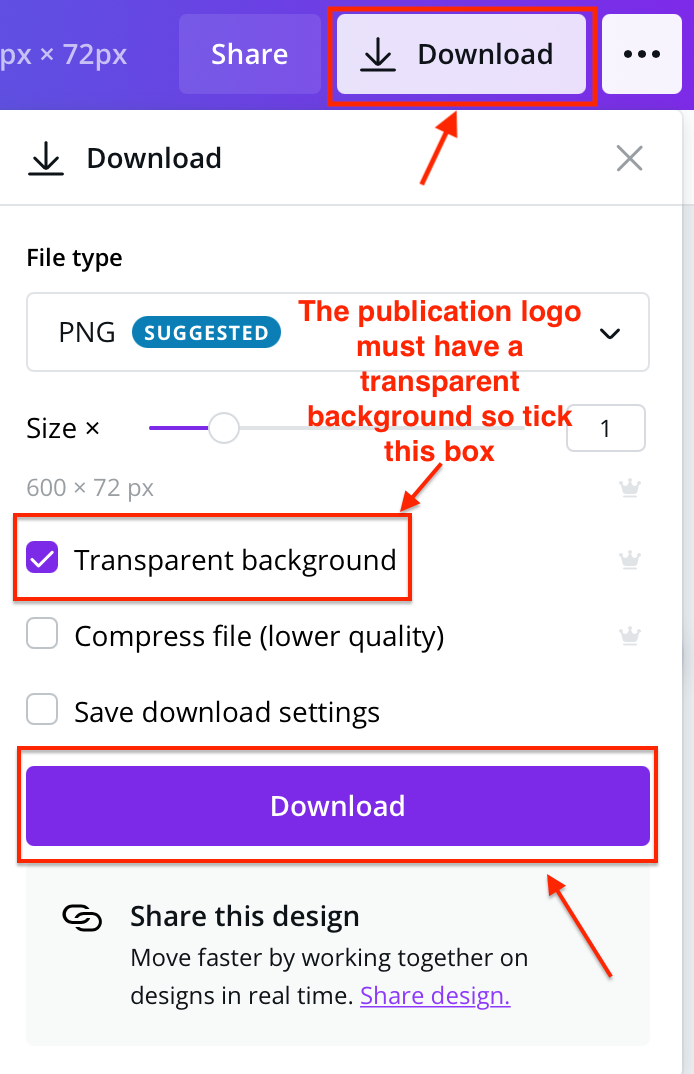
5. Once you’ve finished your design, simply click the ‘download’ button up the top right-hand corner. Make sure the file type is ‘png’ size is at least 600x72px. The publication logo must be transparent so tick the box that says, ‘transparent background’ and download.
6. Go back to your Ghost branding section, under ‘publication logo’, click ‘upload logo’ and upload the logo you just created and downloaded from Canva.
7. Click ‘save and close’ up the top right-hand corner.

STEP FIVE: Creating your publication cover and uploading it to Ghost.org
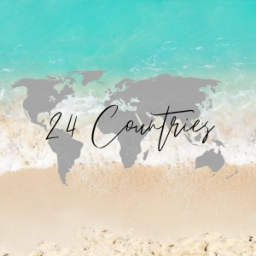
A publication cover is displayed as your banner on your main page. I made my publication cover the same as my publication icon to keep it consistent. I also incorporated my logo into my publication cover.
I’m going to let you know how to create your publication cover using Canva. Use this link if you also fancy trying Canva:
https://partner.canva.com/9WMm0Y
1. Click on ‘create your design’ at the top right-hand corner of Canva.
2. Select ‘custom design’ at the bottom of this list.
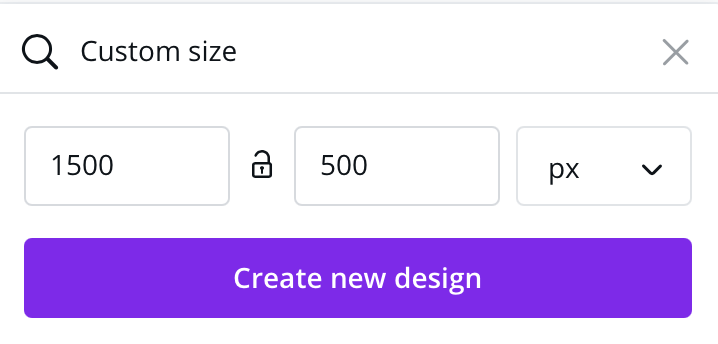
3. Type in the dimensions on the publication logo, it has to be a minimum width of 1500px to look good on all devices. I used 1800 x 600px as I thought this looked the best on my website but play about with it and see what works for you!
4. Get creative with it! You’ve got a ton of templates, elements, images, backgrounds, and fonts to choose from. If you intend to use the Canva templates for commercial purposes, you must edit it as it can’t be used as a direct copy.
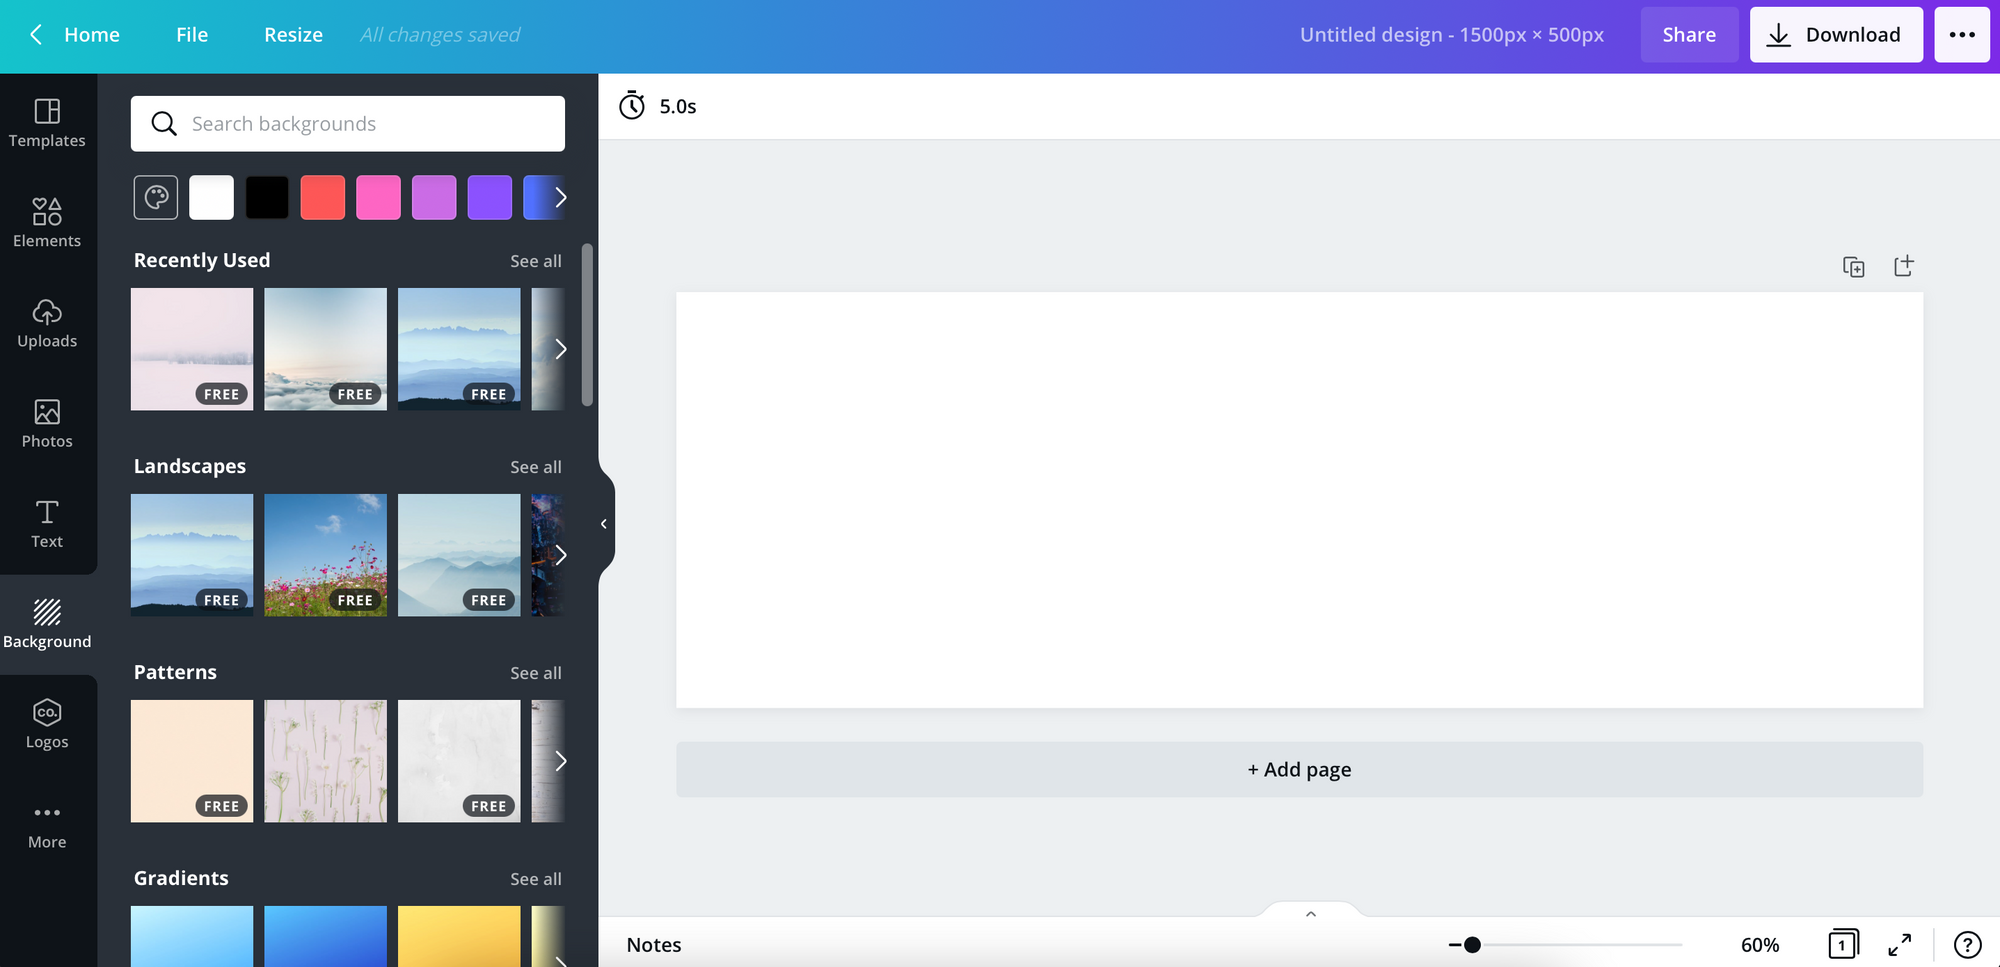
5. Once you’ve finished your design, simply click the ‘download’ button up the top right-hand corner. Make sure the file type is ‘png’ size is at least 1500px width and download.
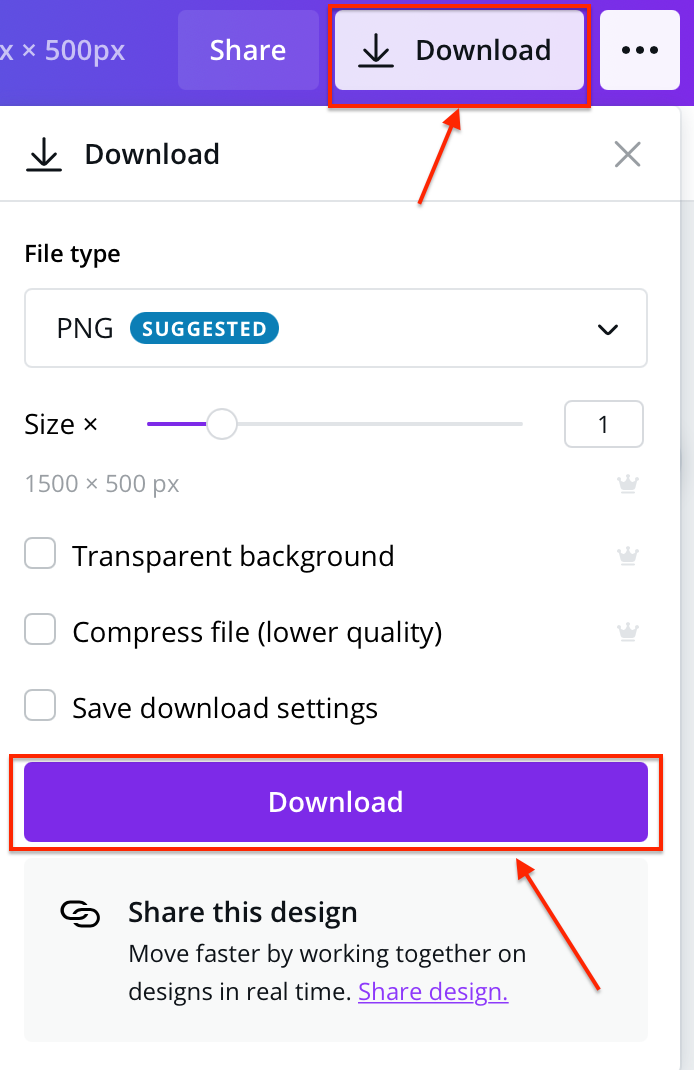
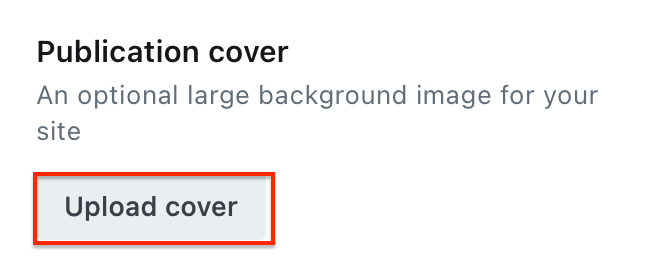
6. Go back to your Ghost branding section, under ‘publication cover’, click ‘upload cover’ and upload the cover you just created and downloaded from Canva.
7. Click ‘save and close’ up the top right-hand corner.

Links to my other 'how-to' blog posts:
Kirsty Kirsty
 Kirsty
 Kirsty
Now your site should be looking amazing which will encourage viewers to want to spend more time on it! If you have any questions about setting up your Ghost.org site, don't hesitate to contact me via the contact form.