#9 HOW TO: Write your about page on Ghost.org

By following my 'how-to' series, you will now be getting very close to having a fully functioning site. How exciting! It's time to add an 'about' page allowing you to inject more of your personality into your site and tell your readers exactly why you started this site. The about page is very important as its one of the most popular pages you can have on your site. It helps build rapport and trust with your audience and they can connect with the person(s) behind the site. Lastly, link your 'about' page back to your reader... what will they gain from visiting your site?
Remember, that you can change and adjust your 'about' page anytime. If you write it now and a couple of months down the line you think it doesn't really get across the message you were hoping for then, you can rewrite it or add to it. This blog post will cover how to write your 'about' page including some very handy tips and things you should include. Enjoy!
This blog post will cover:
- STEP ONE: Create your'about' page
- STEP TWO: Link your 'about' page to your 'about' button in your primary or secondary menu
- STEP THREE: Writing your 'about' page (+ 5 tips on what you should include)
- Links to my other 'how-to' blog posts
If you need help with other aspects of Ghost.org/Google Domains, follow my 'how-to' blog post series linked at the bottom of this blog. A new 'how-to' blog post will be released every Thursday.
STEP ONE: Create your 'about' page
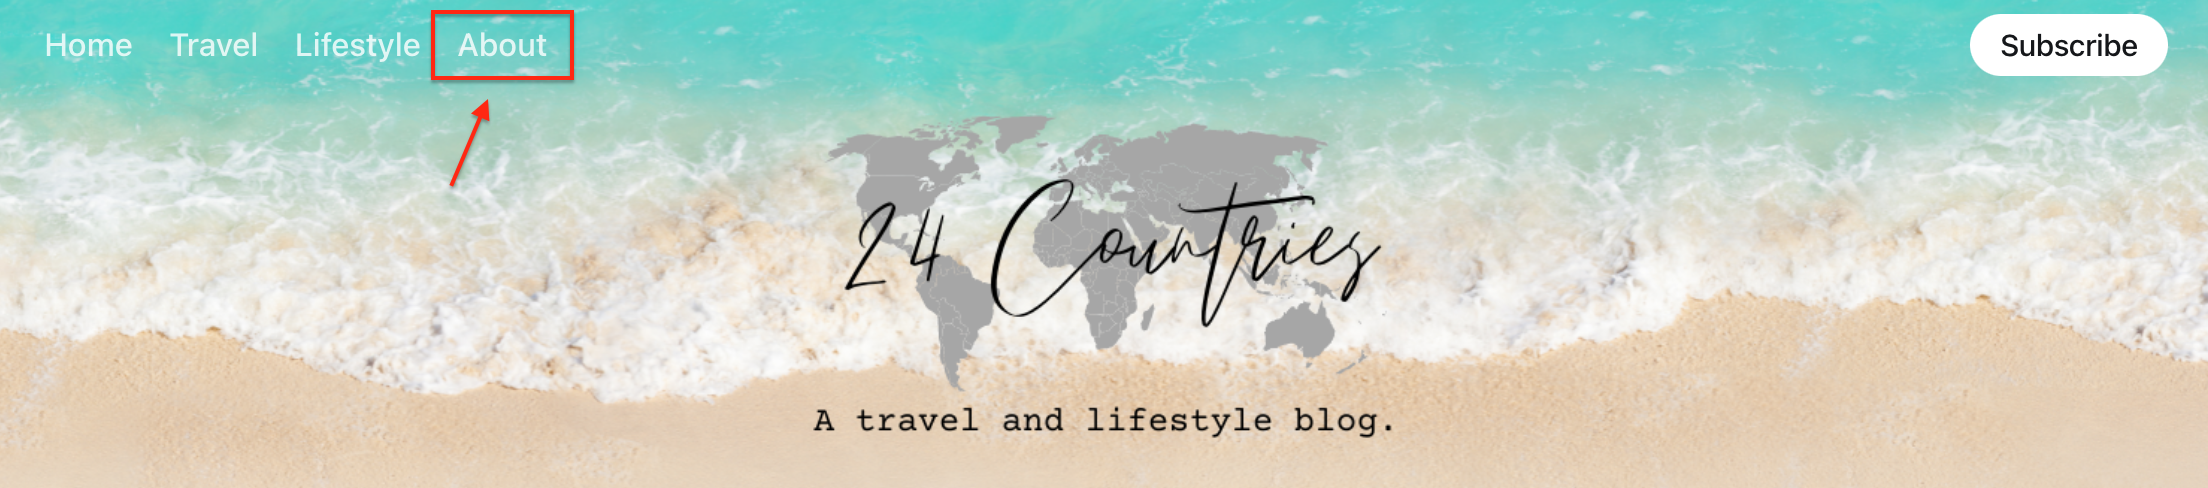
You first need to set up an 'about' button in either your primary (top of your site) or secondary (bottom of your site) menus. Like this...
If you haven't already done this or aren't sure how to set this up, not to worry... read this post to help you!
 Kirsty
Now that you have your 'about' button in your primary or secondary menus, you need to set up your 'about' page.
So to set up your 'about' page, follow these instructions...
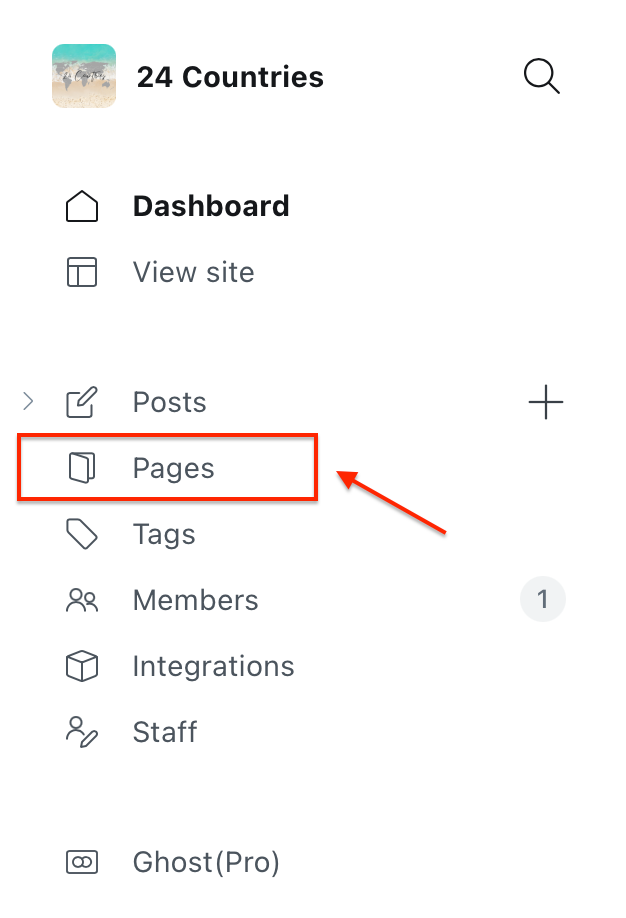
- You need to be logged into your Ghost account and click the 'pages' button on the left-hand menu.
2. Click 'new page' up the top right-hand corner.

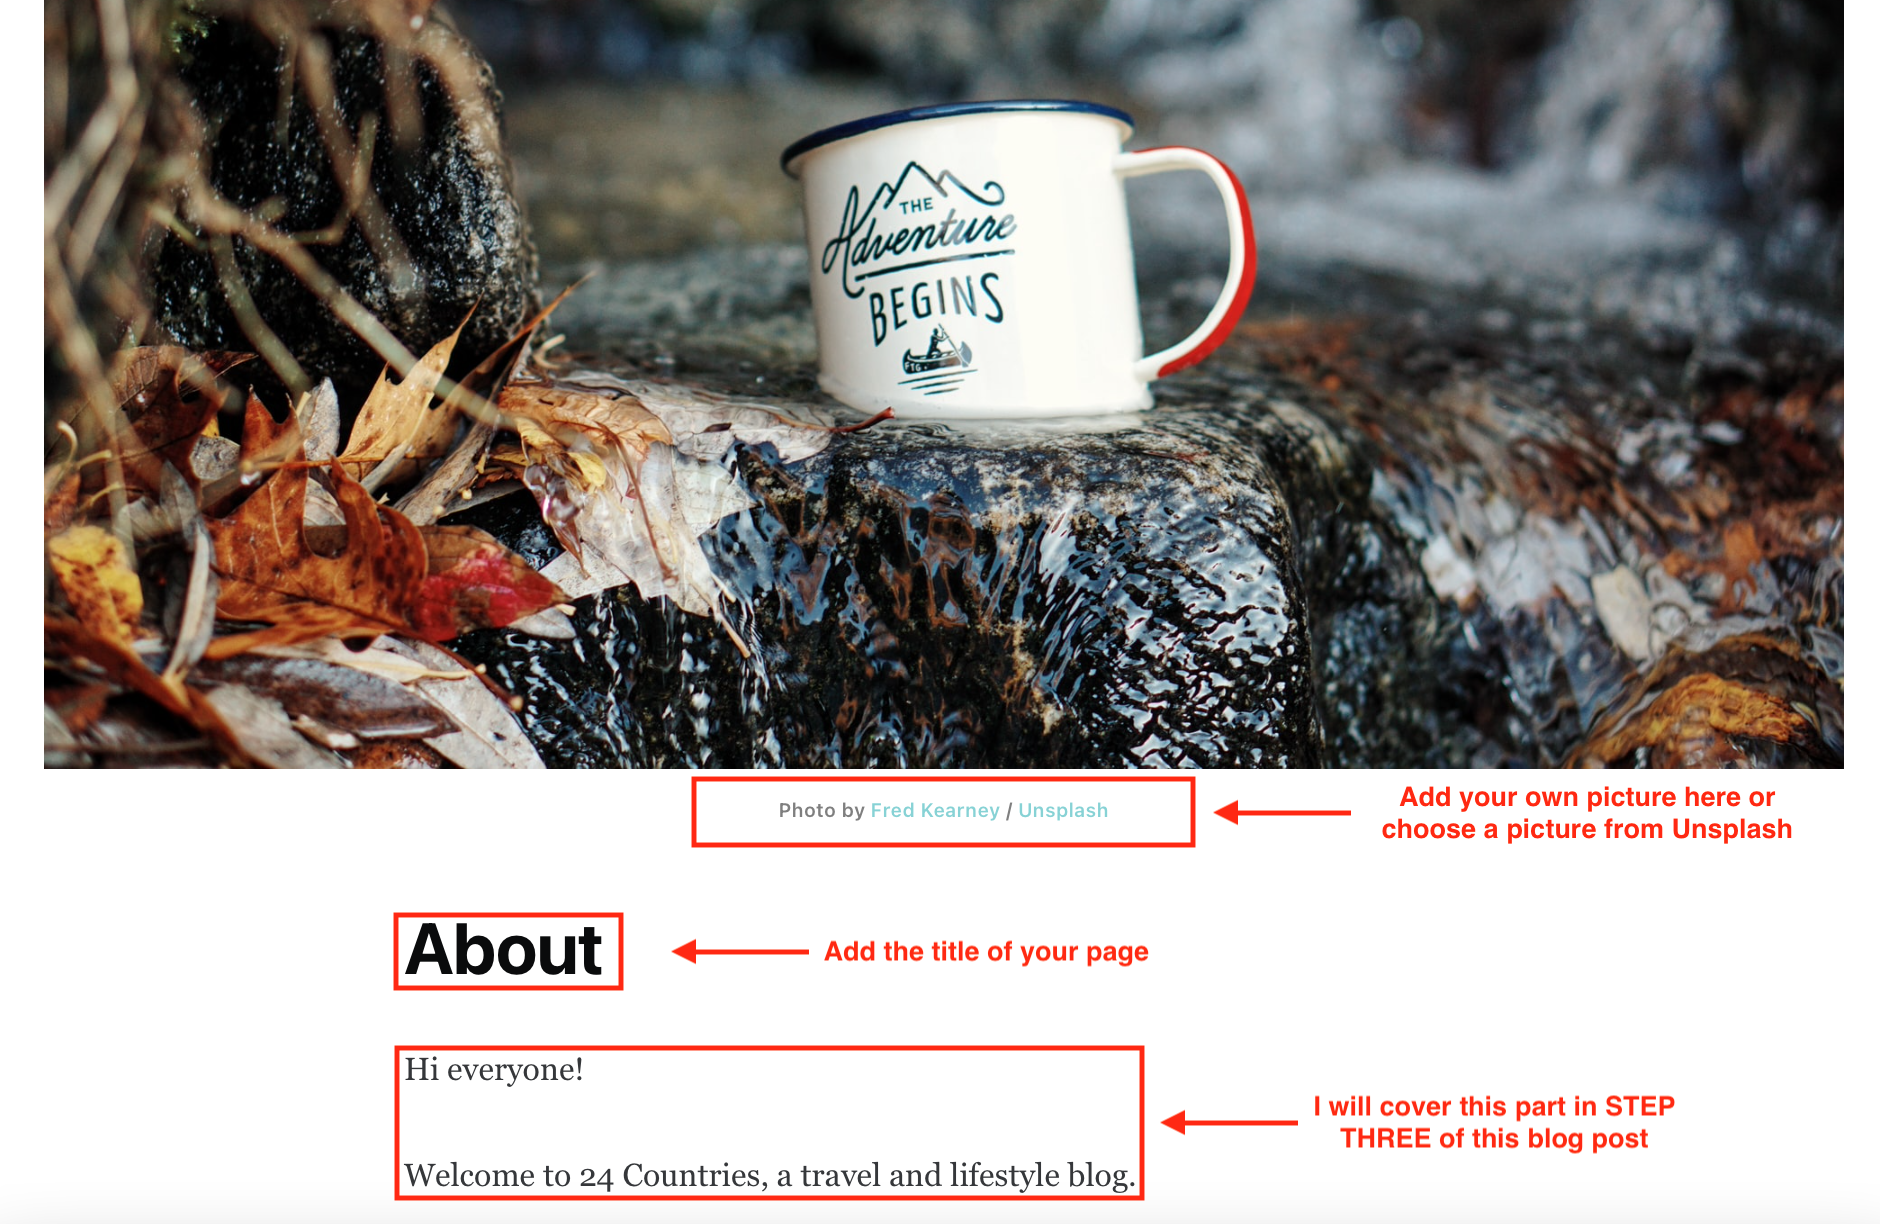
3. Customise your 'about' page... Add a title and upload/choose a picture, go wild! This page will save as a draft until you choose to publish it.
STEP TWO: Link your 'about' page to your 'about' button in your primary or secondary menu
Next, you have to link your 'about' page to the 'about' button in your primary or secondary menu. If you don't do this and you click on the 'about' button, you'll be met with a 404 error message.
To link the two, follow these instructions...
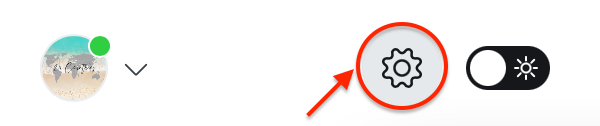
- Log into your Ghost.org account and then click on your settings. This button...
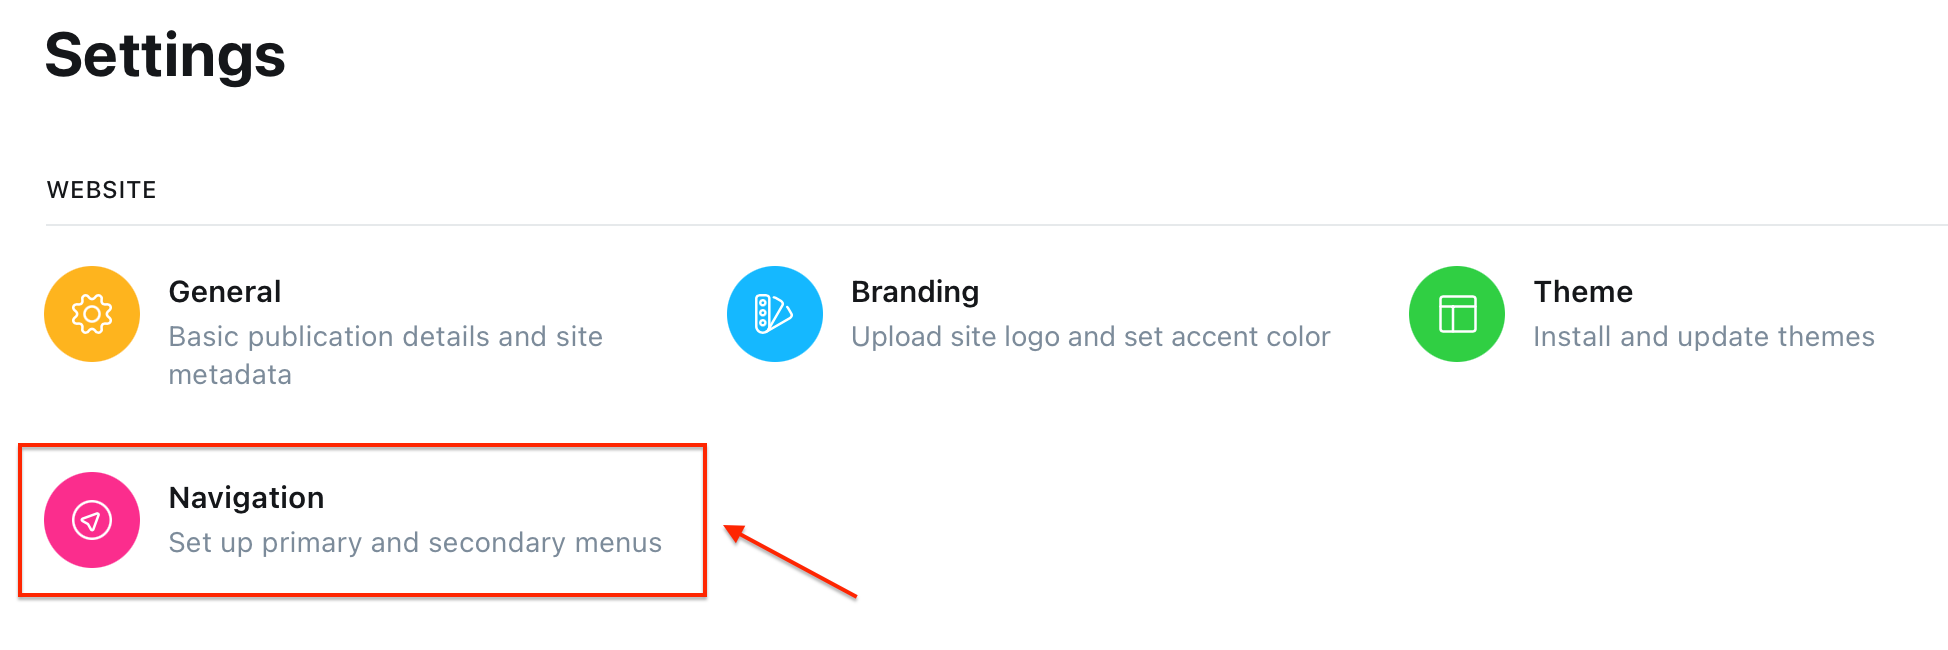
2. Within your Ghost settings and under the 'website' section, click on the 'navigation' tab (highlighted in the picture below).
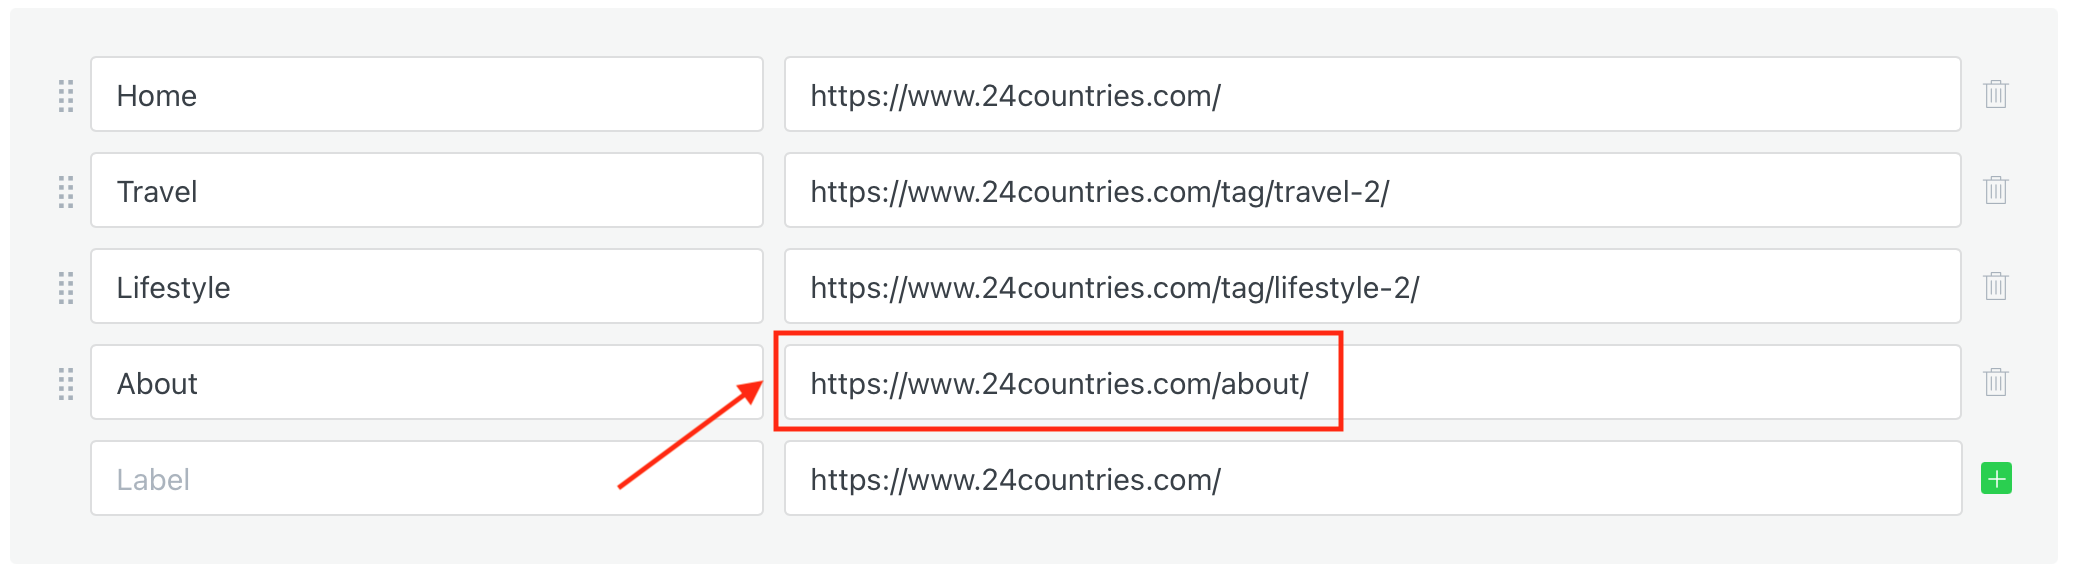
3. Find the 'about' menu row under either your primary or secondary menus and make the URL end in '/about/'.
4. Next, click on the 'pages' button on your left-hand menu and go onto your 'about' page.
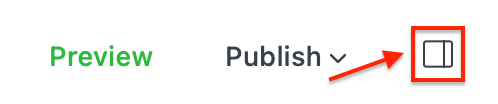
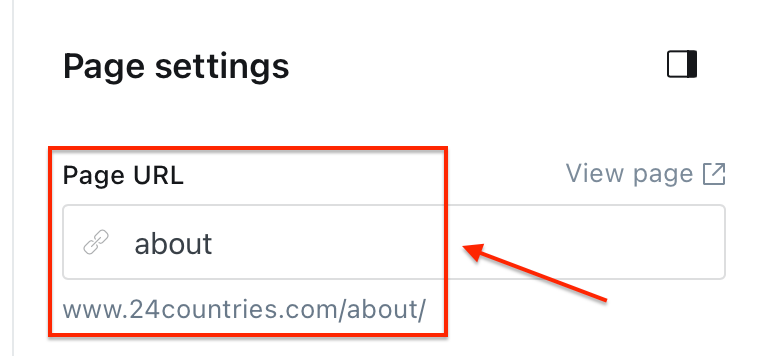
5. Click this button up the top right-hand corner of your 'contact' page.
6. Edit your page URL to match the URL above in the primary and secondary menu. This will link the 'about' page to your 'about' button which means now when you click on your 'about' menu, you will be able to see your 'about' page once you've published it.
STEP THREE: Writing your 'about' page (+ 5 tips on what you should include)
An 'about' page is an opportune time to inform your audience about you and your site. Think of it as your 'dragons den' presentation, you've got a couple of minutes to pitch to your reader and get them engaged. And keep in mind.. how many sites on the internet you've got to contend with!
Keep it short and snappy... get to the points you're trying to make and quickly! My suggestion is anything up to 1,500 words. Chances are many of your readers won't read past the first couple of paragraphs but if you make it interesting and include them in your story then you can keep them engaged. Think back - how many times have you gone on a site/blog post and scrolled to find the important parts without reading the full thing?! Probably at least a couple of times!
Have a look at other peoples 'about' pages, who are in a similar field/niche to you and who you admire. Do not copy them but use them as inspiration for what you should be including on your page.
Write like you're talking to a friend and make it focused on what you can give to them. You don't need to make it super professional or obvious that you've used a thesaurus on every word. I know this would put me off a site because I wouldn't be able to relate to it or even understand it. It's also not a page to reel off your CV and impress others, rather it should give your audience an insight into you and your site. So, take the pressure off and just let the words flow. What do you want to get across?!
Here's 5 tips on what you should include...
- What you can give to your audience - This is probably the most important point in this list. A staggering statistic is that apparently people spend 95% of time thinking about themselves so when we are reading or investing time in something, its usually because we are wondering if or how it could benefit us. You need to show you audience what they can get from your blog/site, products or courses and why it would benefit them. If you are a blog, you can also say how often you will be posting to keep it consistent and so readers know when to come back and visit for a new blog post. It's worth noting this is not the time to forcefully sell something, rather just inform your reader.
- Your personality and what makes you unique - As I mentioned earlier, you've got millions of sites to contend with so you need to highlight why yours is one that readers would find interesting. By making it personable, readers can connect and find shared values with you. Don't write about your whole lifes events, write about things that tie in with your site. For example, if your sites about finance. Answer questions like: when did you take an interest in finance? Did you go to college or university to study finance? etc. But, you wouldn't talk about the time you bought a nice set of Christmas pyjamas or when your car broke down.
- Why you started your site - Was there a life event that happened that made you want to start your site? or is your site something you always dreamed of starting up? Whatever it is... tell your audience! Tell a story - be real, be honest and be relatable. This helps build trust and allows your reader to connect with your brand.
- A picture of you (or even a video!) - People are curious and a large majority of us prefer to look at photos than read a long bit of text (guilty!). It also gives your audience an insight into who is behind the site and allows them to build a connection with you. Even better... include your niche in your photo. For example, I'm a travel blogger so I have included a photo of me rowing a boat in Lake Bled, Slovenia. If your site's about food include a photo of you with some really tasty food!
- Give the reader next steps to take - After all that, are you really just going to let you reader click off your site and forget that it even existed?! No! You need to give them an action/next steps. You could direct them to other parts of your site, encourage them to follow you on social media or even, subscribe to your site to keep updated. Use this as an opportune moment to
Links to my other 'how-to' blog posts:
Kirsty Kirsty
 Kirsty
 Kirsty
 Kirsty
 KirstyKirsty
 Kirsty
In the meantime, if you have any questions please don't hesitate to contact me via the contact form.